|
After only a year the rather careless customer had
managed to damage pretty much every panel on the car (again). We were
therefore asked to carry out repairs and at the same time make the car
look completely different and somewhat friendlier.
One of the things we insisted on to try and make the
car last longer was that it should be fitted with air suspension on order
to make it impossible to damage - this proved ultimately to be a waste of
time - since the customer did not seem to care about repair bills and just
drove the car in the lowest position damaging the bodywork again!! |
 |
 |
 |
 |
|
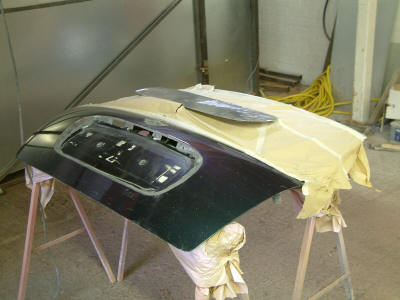
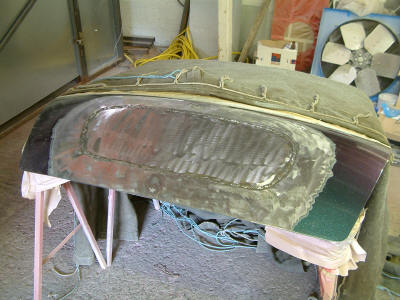
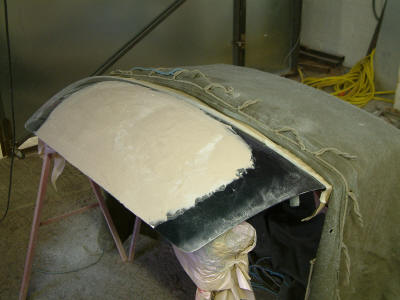
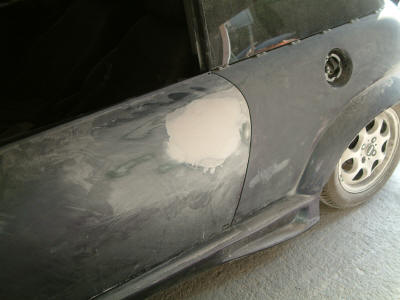
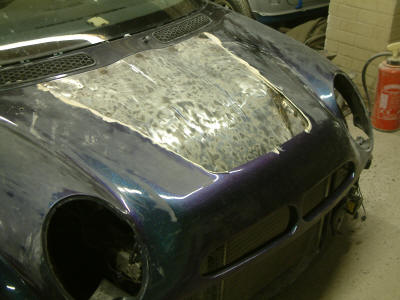
The first job is the smooth bootlid conversion. We have
seen many companies and many individuals bodge these things in the past -
one recently showed the MDF they used in Max Power and a certain Fast Car
cover car also used MDF - these people always seem to end up asking us why
they cannot get it flat and why it doesn't last - I really don't know!!!
There is only one way to do a smooth bootlid, get it
flat and make it last the life time of the car - do not listen to anyone
whom tells you there is another way - THERE IS NOT. As you can see above
the bootlid has a piece of metal made to insert into the recess. We tend
to use about 1.5 to 2mm mild steel for the insert and cut it as close as
possible. It is then SEAM WELDED into position - this does create a little
more distortion than spot welding but spot welds will never last under
filler - NEVER. Next grind the paint off - filler sticks better to bare
metal, and fill the area. If you are good one fill will do it - if not it
may take several attempts. Once primed and blocked it is completely flat
and will last for many years. |
 |
 |
|
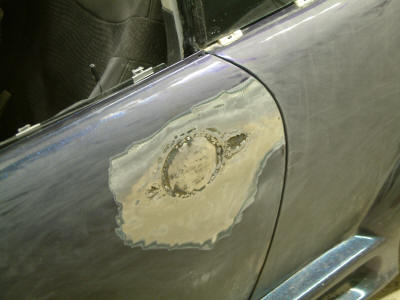
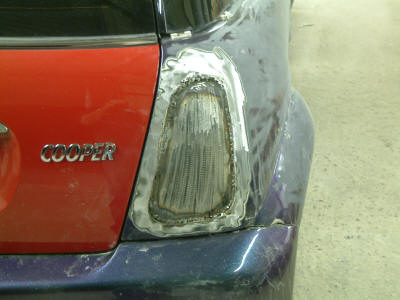
The door handles and rear taillights are smoothed in
exactly the same way, as you can see from the photos. Many companies show
you how they do this on the website - but they skip the welding because
they only spot weld - spot welding will never last. We always seam weld as
you can see from hundreds of photos on this site. After many years (we
started in the eighties) our work still stands the test of time - others
do not. |
 |
 |
 |
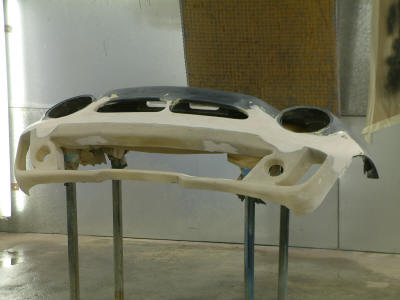
For most smoothing a good trick is what we call "double
priming". Essentially what this means is that the smooth panels are
prepared to the absolute best possible standard with filler, and sanding,
and then they are primed.
This primer is then wet flatted with a block to get the
last imperfections out of the panel before it is primed for a second time
(as you will see later). This is more expensive because everything is done
twice.
This really is a coach building technique, but its why
our smooth panels tend to look so much better than other companies. |
 |
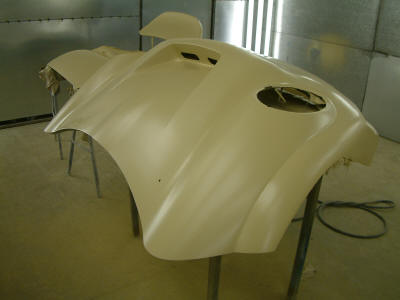
The old vent is then cut off before having a new one
dropped down into the bonnet to form a scoop. You can just see the metal
that is welded into the side to form a very strong section.
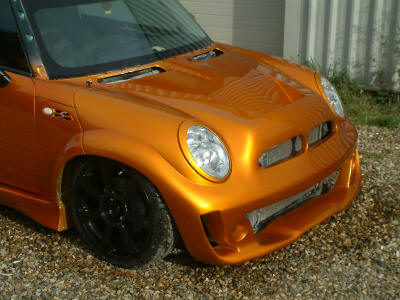
Extra metal is added to the front section before the
bumper is joined to the front to form a proper old style flip up front.
This metal is very thick and forms a strengthening section to keep
everything together.
It does add a little weight but this is not a race car
and we can sacrifice a little weight to give durability. |
 |
After the metal is added it gives something for the 20
or so nuts and bolts that are used to secure the two items together to fix
to. They bolt through the bumper and into the new metal. (After 18 months
this is still as strong as ever). Filler is then applied over the top to
smooth the transition between the two parts which look very much as one
part when complete.
The Animal bumper has had the vents opened out into one
on this so it looks a little different.
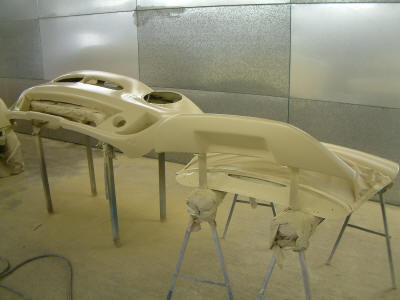
Below you can see the front end and new spoiler have
been primed and flatted and are ready for the second coat of primer, which
is applied further below. |
 |
 |
 |
 |
 |
 |
|
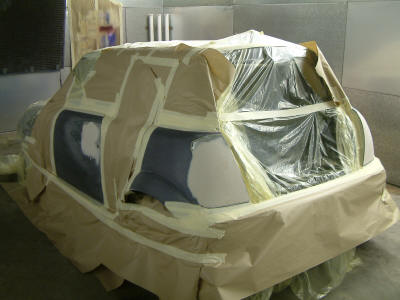
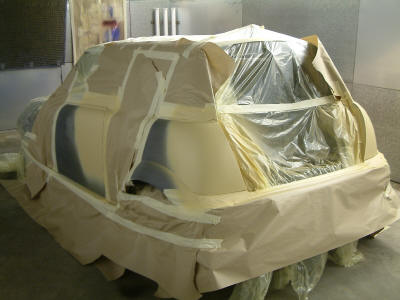
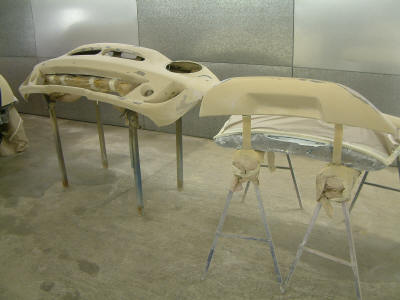
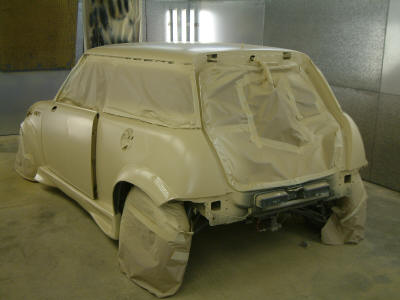
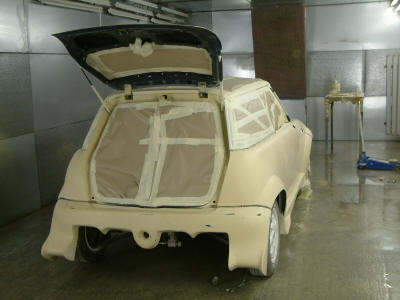
Panel work really starts to look good after the second
application of primer. This takes many hours of hand flatting with wet n
dry before its ready for the paintwork. Ultra smooth nature of the car is
really starting to take shape now. Because this is to be a Kandy job the
panels all have to be on the car to do it. On a scale of 1 to 10 a Kandy
job is about 20. For this reason most bodyshops will not touch them - they
are just not up to it!!!
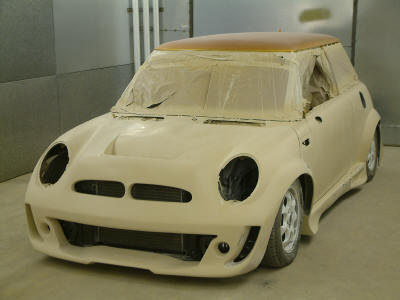
Here you can see the roof has already been done. This
was to have some artwork on it, but when we saw the car coming together we
changed our minds and went with a purer look. Normally this would be
painted at the same time.
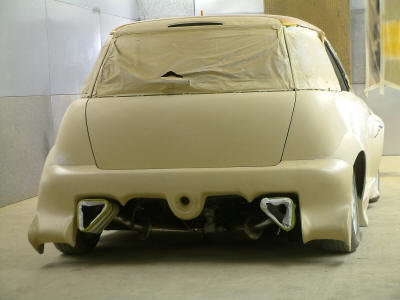
Custom Triangular exhausts have been built and are in
place. |
 |
 |
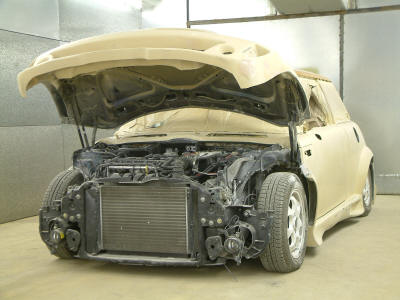 |
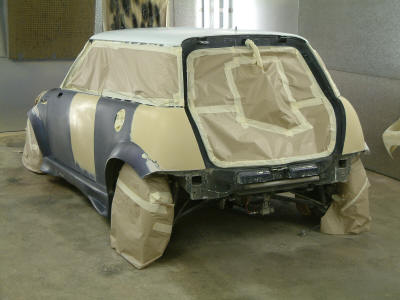
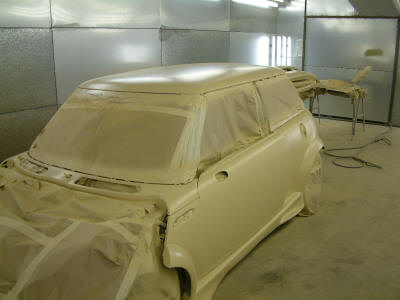
Car looks bizarre with front lifted up. The customer
had previously removed the front impact absorbing bar - we don't know why
- this adds to the unusual look at the front.
Because it was not a road car this really did not
matter on this car, but we would definitely advise having one!
|
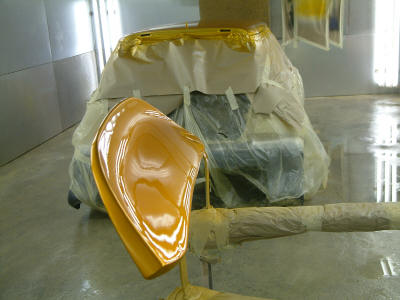 |
As mentioned the spoiler and roof were painted in
advance. They had to be painted at the same time to ensure that they
matched.
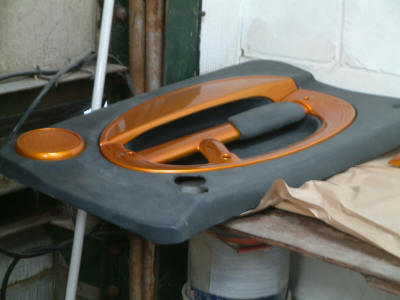
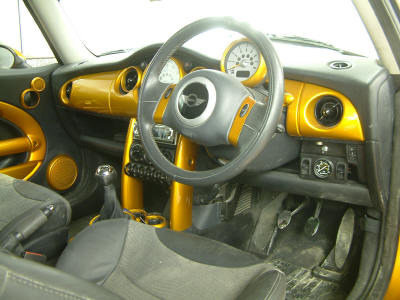
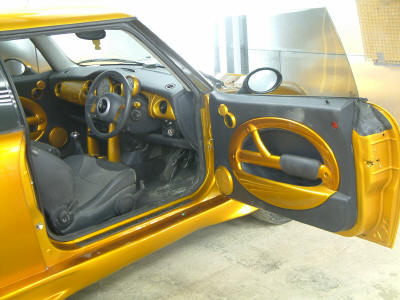
Whilst the exterior was being perfected it was time to
start painting the interior - there are loads of bits and this takes quite
some time, but is well worth it as it looks fabulous when done. |
 |
 |
 |
 |
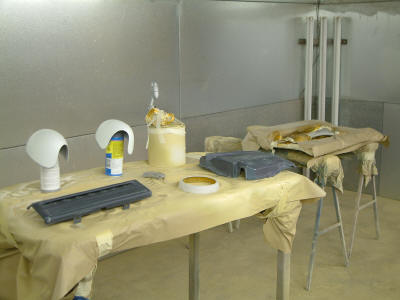 |
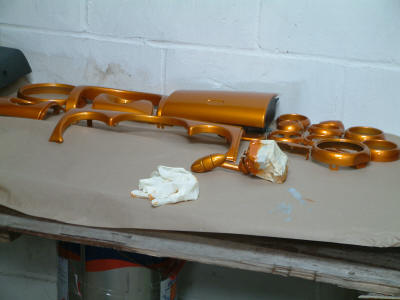
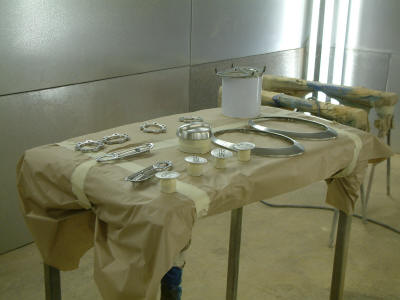
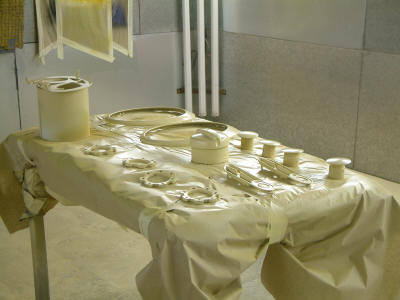
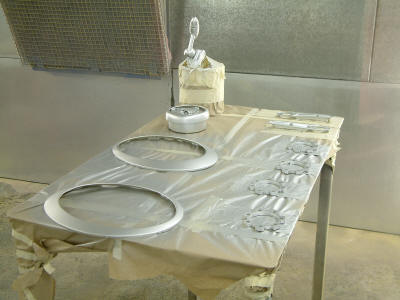
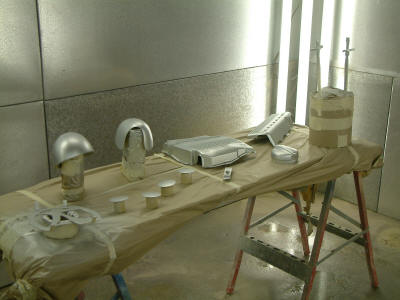
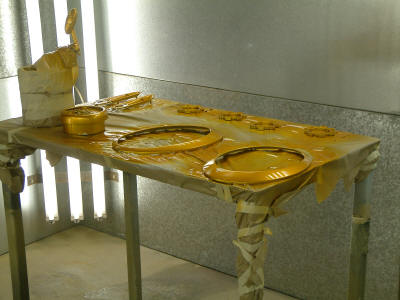
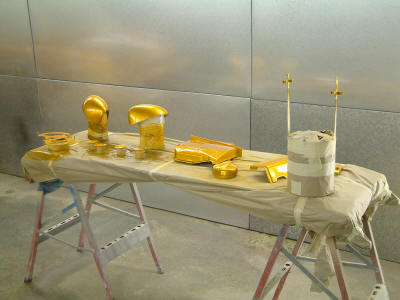
Parts are separated into metal (chrome, aluminium, and
steel) which are etch primed with a zinc primer before 2k priming
and then Kandy coats.
Second session is interior parts (plastic) which has
large quantities of adhesion promoter and flexible additive to ensure the
paint stays on.
Third session is engine/exterior parts which are also
mostly plastic.
Most parts need primer flatting prior to painting. It
all takes ages especially with around 100 parts to colour code!! |
 |
 |
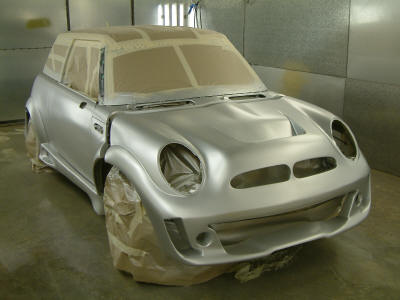 |
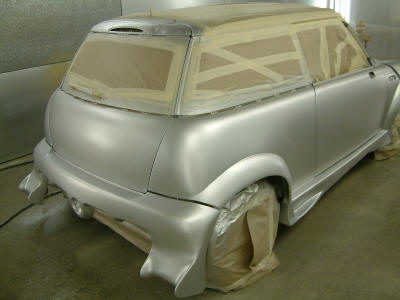
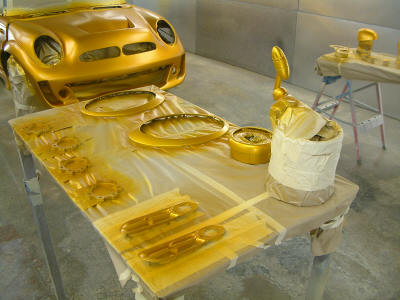
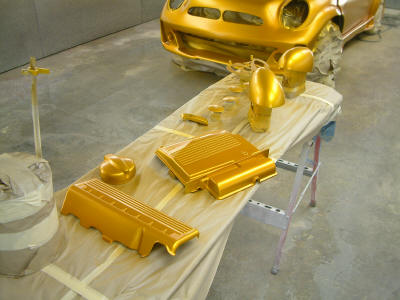
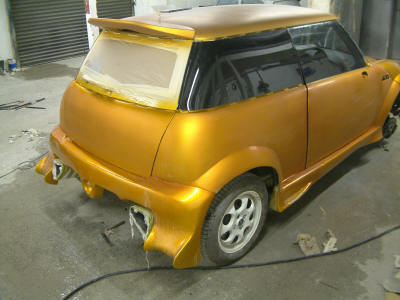
Once the shell is finally ready to paint the whole car
must be thoroughly cleaned (as must the paint booth), and re-masked.
Since the car is to be painted in Kandy orange the
first stage is the paint the entire shell in brilliant silver. This is the
secret as to why all true Kandies have so much impact.
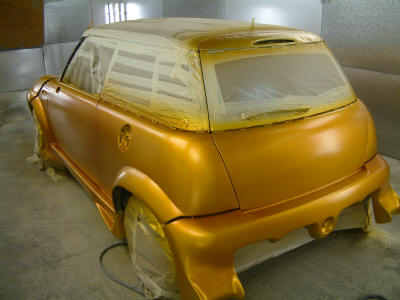
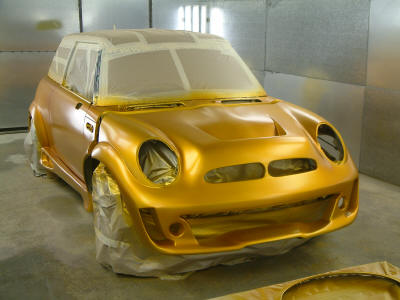
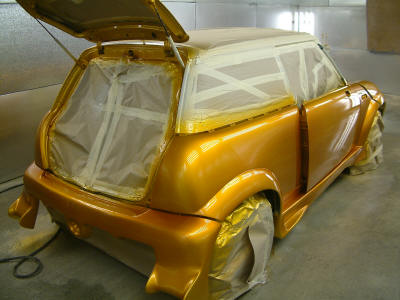
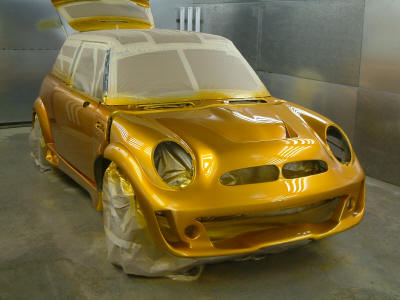
Next the Kandy coats are very gradually painted onto
the silver and the orange colour starts to build.
This is actually a basecoat Kandy - hence the satin
look below. It must be coated with Lacquer to give durability and gloss
(below). |
 |
 |
 |
 |
 |
 |
 |
 |
 |
 |
|
All the plastic and metal parts follow exactly the same
procedure. It all looks fabulous.
But as always we then colour sand and buff the cars to
a gorgeous deep shine. This is done by sanding the car wet with 1200 grit
sandpaper, followed by 1500 grit and then 2000 grit. Then a powerful
electric machine polisher is used to bring the shine back to the now
perfectly flat and smooth panels.
This really is the difference between a Class D or
Class E paintjob and a Class C (this is the minimum we ever do). It can
take between 10 and 12 hours to colour flat and buff a car but its worth
every minute. |
 |
 |
 |
 |
 |
 |
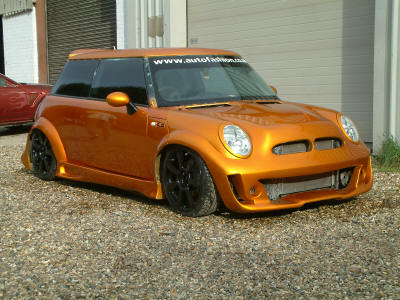
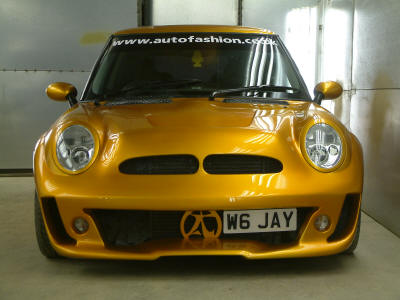
The car was then re assembled, tested and taken away by
the customer on a trailer. In the next few weeks the car was very busy
being featured by Fast Car, Go Mini and Performance BMW.
This always makes the late nights and hard work worth
while.
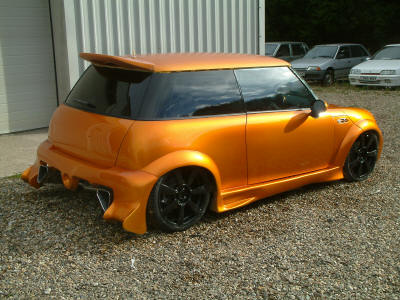
The Black and Orange just works so well together. In a
world full of Minis which seem to vary only by the colour of their bonnet
stripes of by the seats they have - this Mini proves they can look
individual.
|
 |
 |
| Its not subtle and will not appeal to every
one but if it does then drop us a line, as we may be able to build
something just as individual for you. |


